Yes, say goodbye to invoices! From this day on, you’ll be paid automatically! But there are a few things you need to do before everything is set. In this article, we’ll briefly describe the steps you need to take so your financial rewards will be transferred from your virtual wallet to your bank account. Let’s start, shall we? Oh, I almost forgot, but we highly recommend doing this on your laptop or computer, using Google Chrome as your browser.
The first thing you’ve probably noticed is the banner asking you to verify your financial details and the purple wallet button on the top right. Let’s begin with the most time-consuming part: verifying your identity. Just click on the banner and it will lead you to a page with the following instructions:
Add your bank details
Click on the ‘Add bank details’ button. A window will pop up asking you to fill in your name (fill it in just like how it shows on your bank account). Once you’ve done this click the submit button, you’re basically done with the first step!

Now it’s time to add your personal details. This is probably the most important and time-consuming step of the whole process. You may wonder why you need to clarify your personal details. The answer is pretty simple, we have to make sure you’re an actual real person, as weird as it may sound. This way we know for sure your money will be transferred safely to you and only you. This step prevents money laundering and criminalization.
To connect your personal details you’re being transferred to our payment partner. It will ask you first to select your type of business. It’s important that you select the first option: Natuurlijk persoon. Either if you have a VAT(BTW) number or not. Next up is selecting your industry. Just choose whatever suits you best and if you have a website, if not just paste the link of your Instagram profile.

The next step is to fill in your details. Think about your home address (no PO Box address, etc. but where you actually live), birthday, contact information, etc. It may take a few minutes for it to verify. So no worries, have a little patience. ;-)

Just click the gereed button and you’ll be transferred back to the Influentials platform! In most cases you should be done by now! But if the first two steps weren't enough to 100% complete the verification, you'll need to add a form of ID. When you click the Upload document button it will actually take you back to our payment partner to finish the last steps!
You’ll only need to do is providing an ID document. This can be a copy of your passport, ID card, or driver's license. Click which option you prefer to upload and follow the instructions!
 .
.
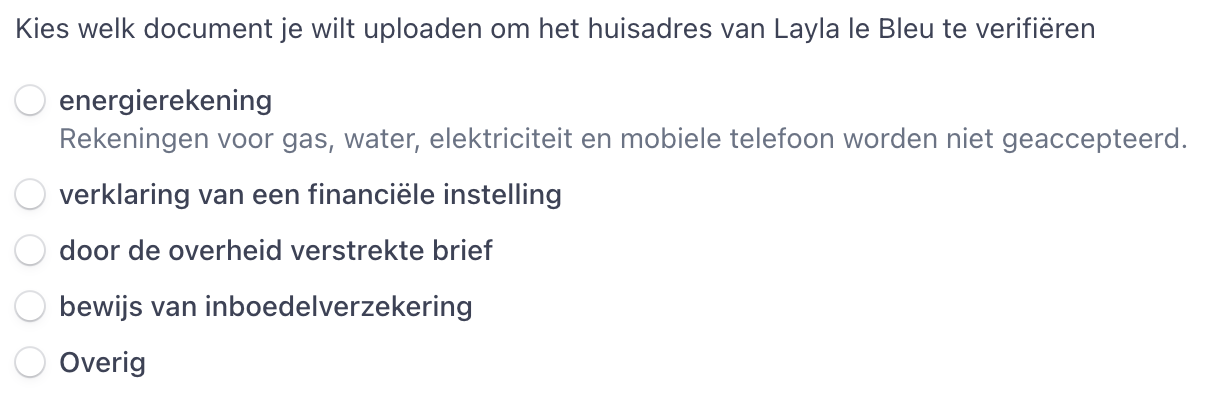
Last but not least, we also need to verify your home address. So select a document you’ve received recently that has your home address on it. This can be a letter from the government, your insurance, a bill from an order, etc.
No worries, if you want to change your details because you’re moving or something like that, you still can! Under the tab Bank details you find your banking and verification data. Clicking the redo verification button will allow you to redo the whole verification process again.
And you’re done! :-) You did it! Now it’s time to get the cash in your bank account. Find out more about it in this article.
Please note, we do not handle or store your banking and/or verification data. If you have any questions, please let us know through hello@influentials.com or the chat.